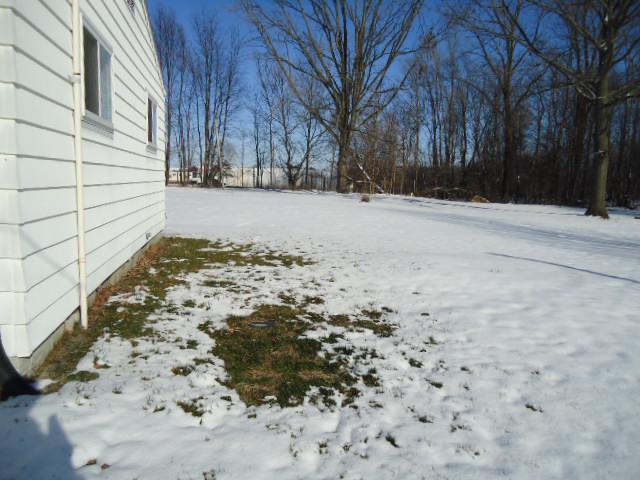
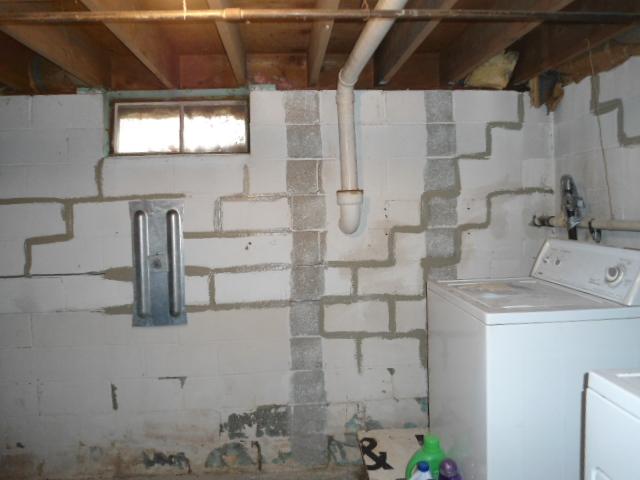
Before
The location where we will tie into the Wall Anchor rods.
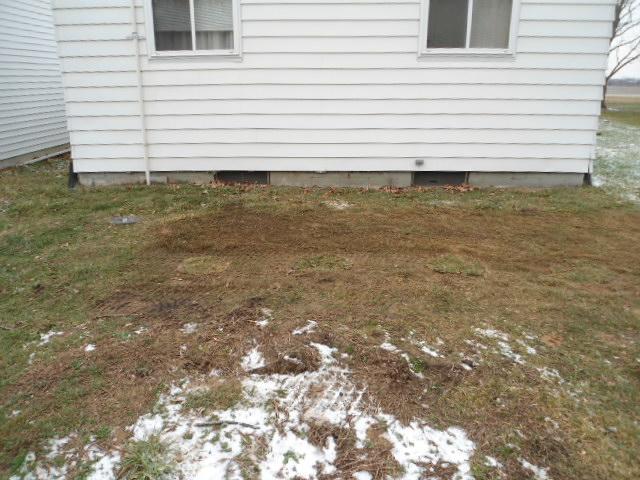
After
The ground is virtually undisturbed after we dug four holes to tie into the Wall Anchor project.
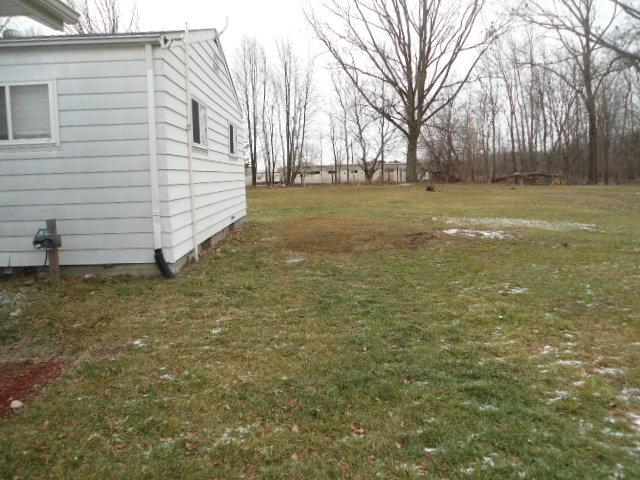
After
The ground is virtually undisturbed after we dug four holes to tie into the Wall Anchor project.
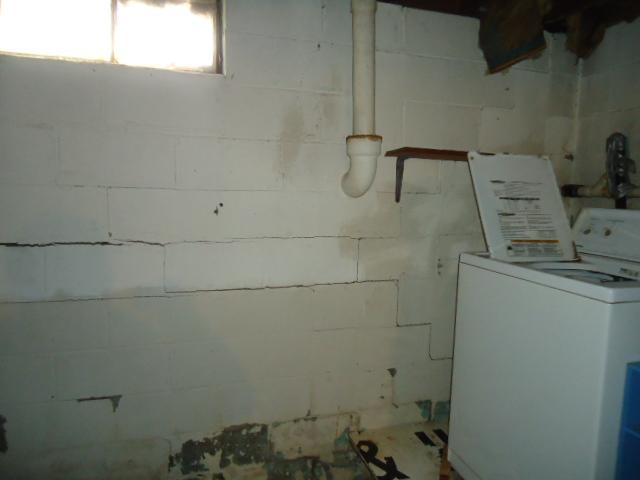
Before
Horizontal cracking and separation.
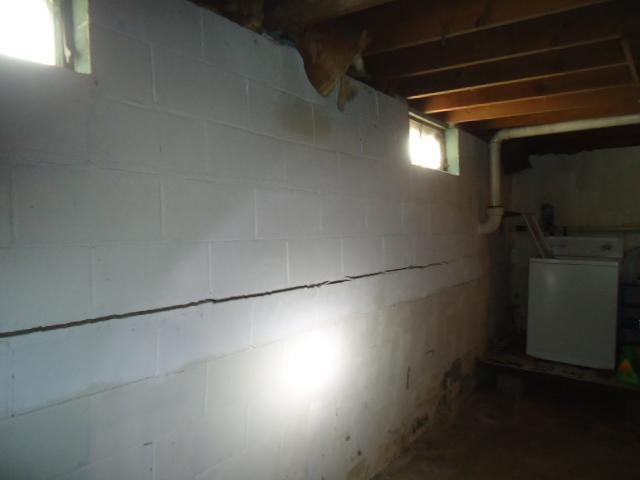
Before
Cinderblock wall with horizontal separation.
After
In this image we have performed our final step of cutting the rods, and sealing any wall cracks.
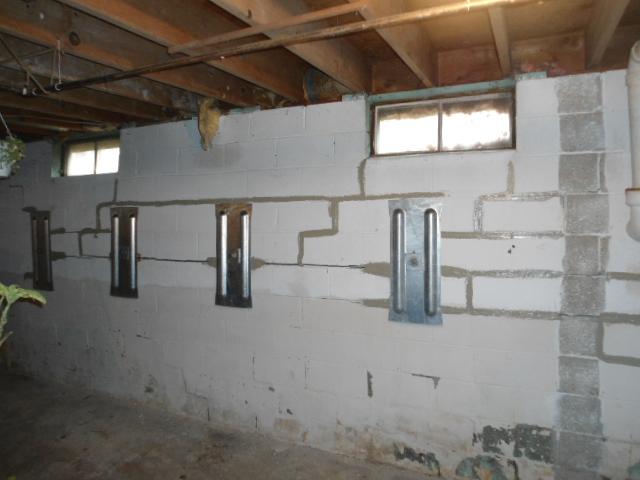
After
Completion of four Wall Anchors.